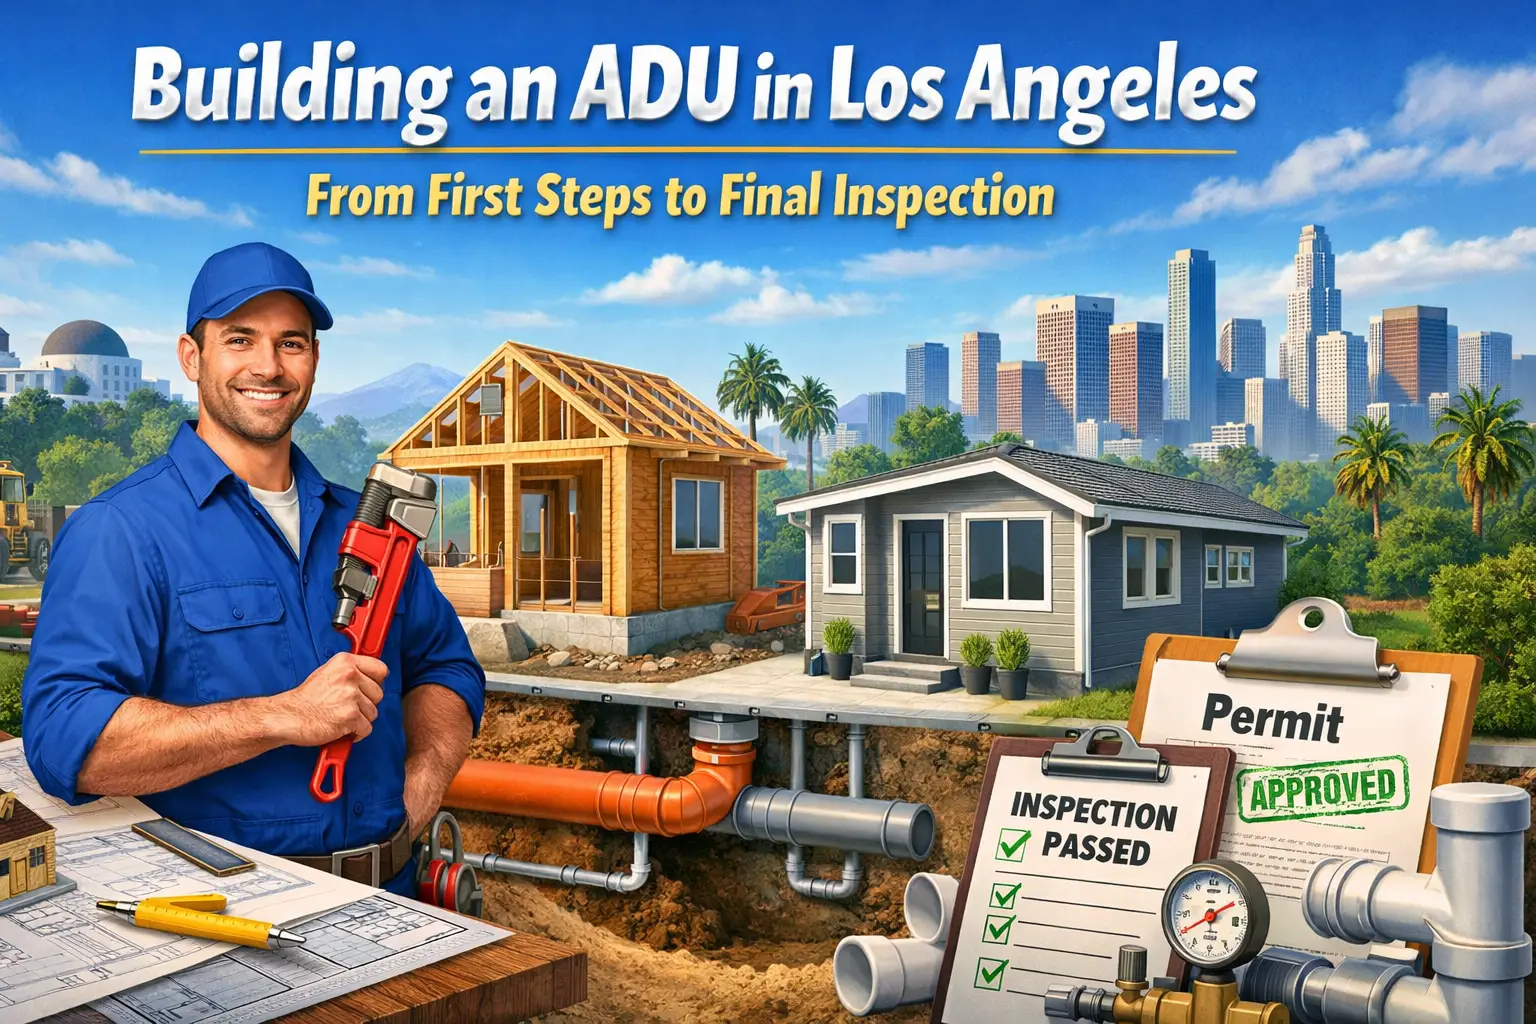
Accessory Dwelling Units (ADUs) are one of the smartest ways Los Angeles homeowners can add living space, rental income, or housing for family—but only if the project is planned correctly from day one. Whether you’re building a detached ADU, garage conversion, or attached unit, understanding the full process will save you time, money, and major headaches.
Here’s a clear, step-by-step breakdown of how to build an ADU in Los Angeles—from the first idea to the final sign-off, with special attention to plumbing, one of the most important (and commonly underestimated) parts of the build.
Step 1: Define Your ADU Goals (Before You Call Anyone)
Before plans, permits, or contractors, homeowners should answer a few key questions:
Will this ADU be for rental income, family, or resale value?
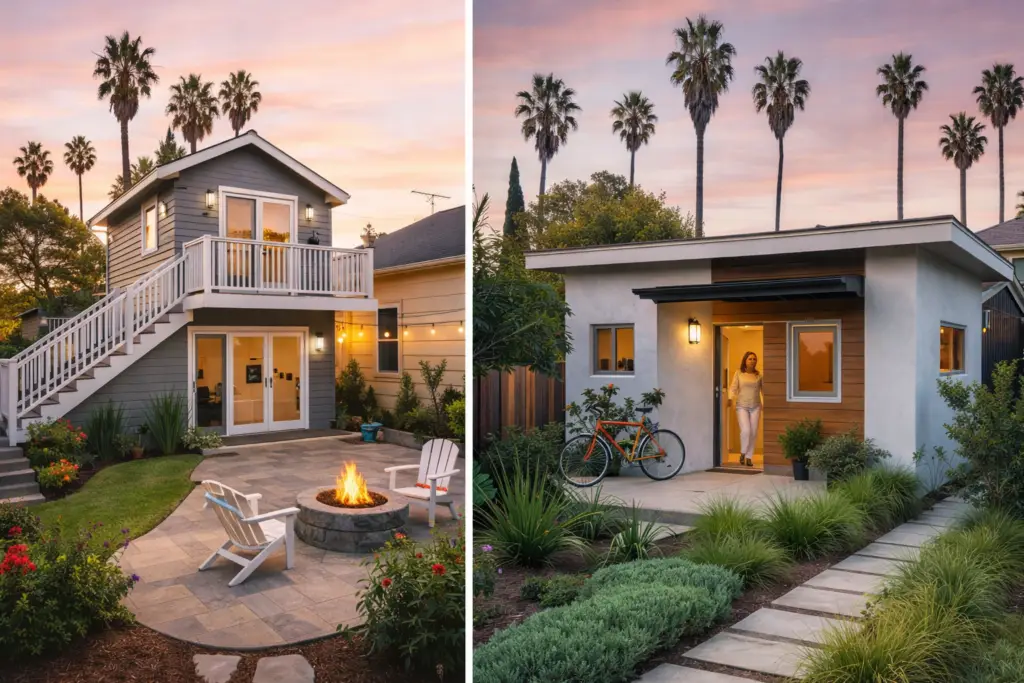
Detached ADU, garage conversion, or attached unit?
One-bedroom or two-bedroom?
Will it include a full kitchen, laundry, or multiple bathrooms?
💡 Why this matters for plumbing:
Your answers determine pipe sizing, sewer capacity, water demand, fixture layout, and whether upgrades to your existing plumbing system are required.
“A successful ADU build in Los Angeles starts long before construction begins. Proper planning, permits, and a solid plumbing strategy from day one are what separate smooth projects from costly delays.”
Step 2: Verify Zoning & ADU Eligibility
Los Angeles has ADU-friendly laws, but not every property is identical. Before moving forward, confirm:
Lot size and setbacks
Existing structures and utilities
Sewer vs. septic system
Water meter size and pressure
Many homeowners skip this step and end up redesigning later—costly and avoidable.
Step 3: Site Evaluation & Utility Assessment (Critical Step)
This is where experienced trades—especially plumbers—add massive value early on.
A professional plumbing assessment should check:
Condition of your main sewer line
Pipe material (cast iron, clay, ABS, PVC)
Existing drain capacity
Water pressure and supply size
Distance from ADU to main sewer connection
Step 4: Design & Architectural Plans
Once feasibility is confirmed, architectural plans are created. These include:
Floor plans
Structural details
Electrical layout
Plumbing plans (supply, drain, vent)
This is where plumbing layouts must be code-compliant and efficient, especially in tight Los Angeles lots where trenching can get expensive fast.
Step 5: Engineering & Permit Submittal
Plans are submitted to the City of Los Angeles for approval. Depending on the scope, this may include:
Building permits
Plumbing permits
Sewer connection approvals
LADWP coordination
⏱️ Timeline: This phase can take weeks to months depending on completeness and accuracy of plans.
Step 6: Pre-Construction Prep & Scheduling Trades
Before breaking ground:
Contractors are scheduled
Materials are ordered
Inspections are planned
Utility shut-offs and trenching routes are confirmed
Plumbing is typically one of the first major trades onsite once construction begins.
🚨 Common issue we see:
Homeowners design an ADU only to discover their main sewer line is collapsed, undersized, or located where the ADU foundation needs to go.
📞 Suspect your drains need more than a quick fix? Call Plumbing SoCal today at 310-889-6727 for a free redrain consultation and estimate.
Step 7: Underground Plumbing & Sewer Connections
This is the backbone of your ADU.
Work typically includes:
Trenching for sewer and water lines
New drain, waste, and vent (DWV) systems
Tying into the existing main sewer
Pressure testing and inspections
⚠️ Mistakes here are expensive to fix later—this is not the phase to cut corners.
Step 8: Framing, Rough Plumbing & Inspections
After framing:
Water supply lines are installed
Venting is routed through walls and roof
Shower valves, tubs, and drains are set
City rough plumbing inspection is completed
Only after passing inspection can walls be closed.
Step 9: Finishes, Fixtures & Final Plumbing
At the end of construction:
Toilets, sinks, faucets, and showers are installed
Water heater (tank or tankless) is connected
Gas lines are tested (if applicable)
Final plumbing inspection is completed
This phase ensures everything functions properly and meets code.
Step 10: Final Inspection & Certificate of Occupancy
Once all trades pass inspection:
The city performs a final walk-through
Corrections (if any) are completed
A Certificate of Occupancy is issued
🎉 At this point, your ADU is legally ready to live in or rent out.
Why Plumbing Should Never Be an Afterthought in an ADU Build
Plumbing affects:
Construction cost
Timeline
Inspection approvals
Long-term maintenance
Rental reliability
In Los Angeles, older homes often have aging sewer lines that cannot support a new ADU without upgrades. Catching this early can save tens of thousands of dollars and months of delays.
Work With an ADU-Experienced Los Angeles Plumber
At Plumbing SoCal, we help homeowners:
Evaluate ADU feasibility
Identify sewer and water issues early
Coordinate with architects and contractors
Install code-compliant, long-lasting plumbing systems
Whether you’re just exploring an ADU or already have plans in hand, starting with the right plumbing strategy makes all the difference.
👉 Thinking about building an ADU in Los Angeles?
Contact Plumbing SoCal to schedule an ADU plumbing evaluation before you break ground.
If you want, I can also:
Need Help with your repipe?
Don’t let a minor drip turn into major damage. Our licensed plumbing experts are local to South Bay, Los Angeles—serving Torrance, Redondo Beach, Manhattan Beach, Hermosa Beach, and surrounding neighborhoods. Whether it’s a quick cartridge swap or a full faucet replacement, we’ve got you covered.
Call us today at 📞 310-889-6727 for fast, professional service and honest advice.
We’ll help you stop the drip and keep your bathroom running smoothly!
Trusted. Local. Experienced.
Serving South Bay homeowners with pride.